
So here it is, finally i have managed to take the time out and complete on feature on my shoot with Shloer. I hope this answers any questions, if not then ask away and i will get back to you. Enjoy the read!
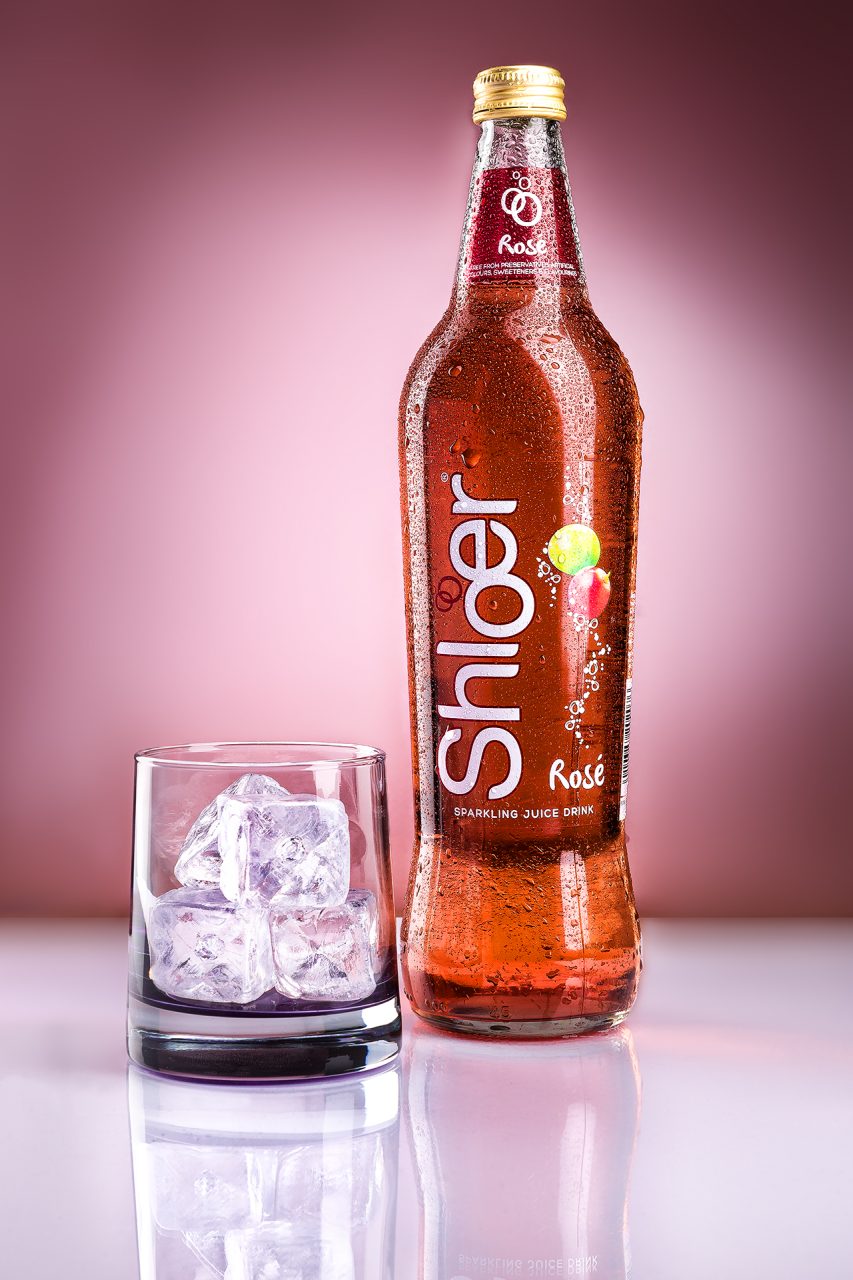
This week I am talking about the shot I took of a bottle of Shloer. I have been wanting to shoot this for a while now, since I saw Karl Taylor do it at the Photography Show a few years ago. He has inspired me to look and think about my lighting differently, and create better imagery. I took this shot at home, where I didn’t really have much room and my preferred choice of lens was not available.
I shot this using two lights, since many people now have at least 2 flashes, (or speedlites) I wanted to show how good lighting and placement is the key to good photography. The lighting I used for this were my trusted ever lasting Bowens Gemini 500R. Nothing fancy as such, just great light. I used two strip banks for the direction of light. The strip banks are great as they have large lapels, which are used to mount a grid. They also help with light leaking and bleeding out, which can be annoying as you have to control this to avoid lens flare at times. One thing to note is that glass and some shiny surfaces act like mirrors when light reaches them. You have control the light precisely as you want it without it reflecting it back in a nasty way. Although grids are great for generally controlling light, they are not something you want to use here, as they can usually be seen in the refection. Unless it adds to the image then by all means. But it can ruin the image if overlooked. You have been warned.
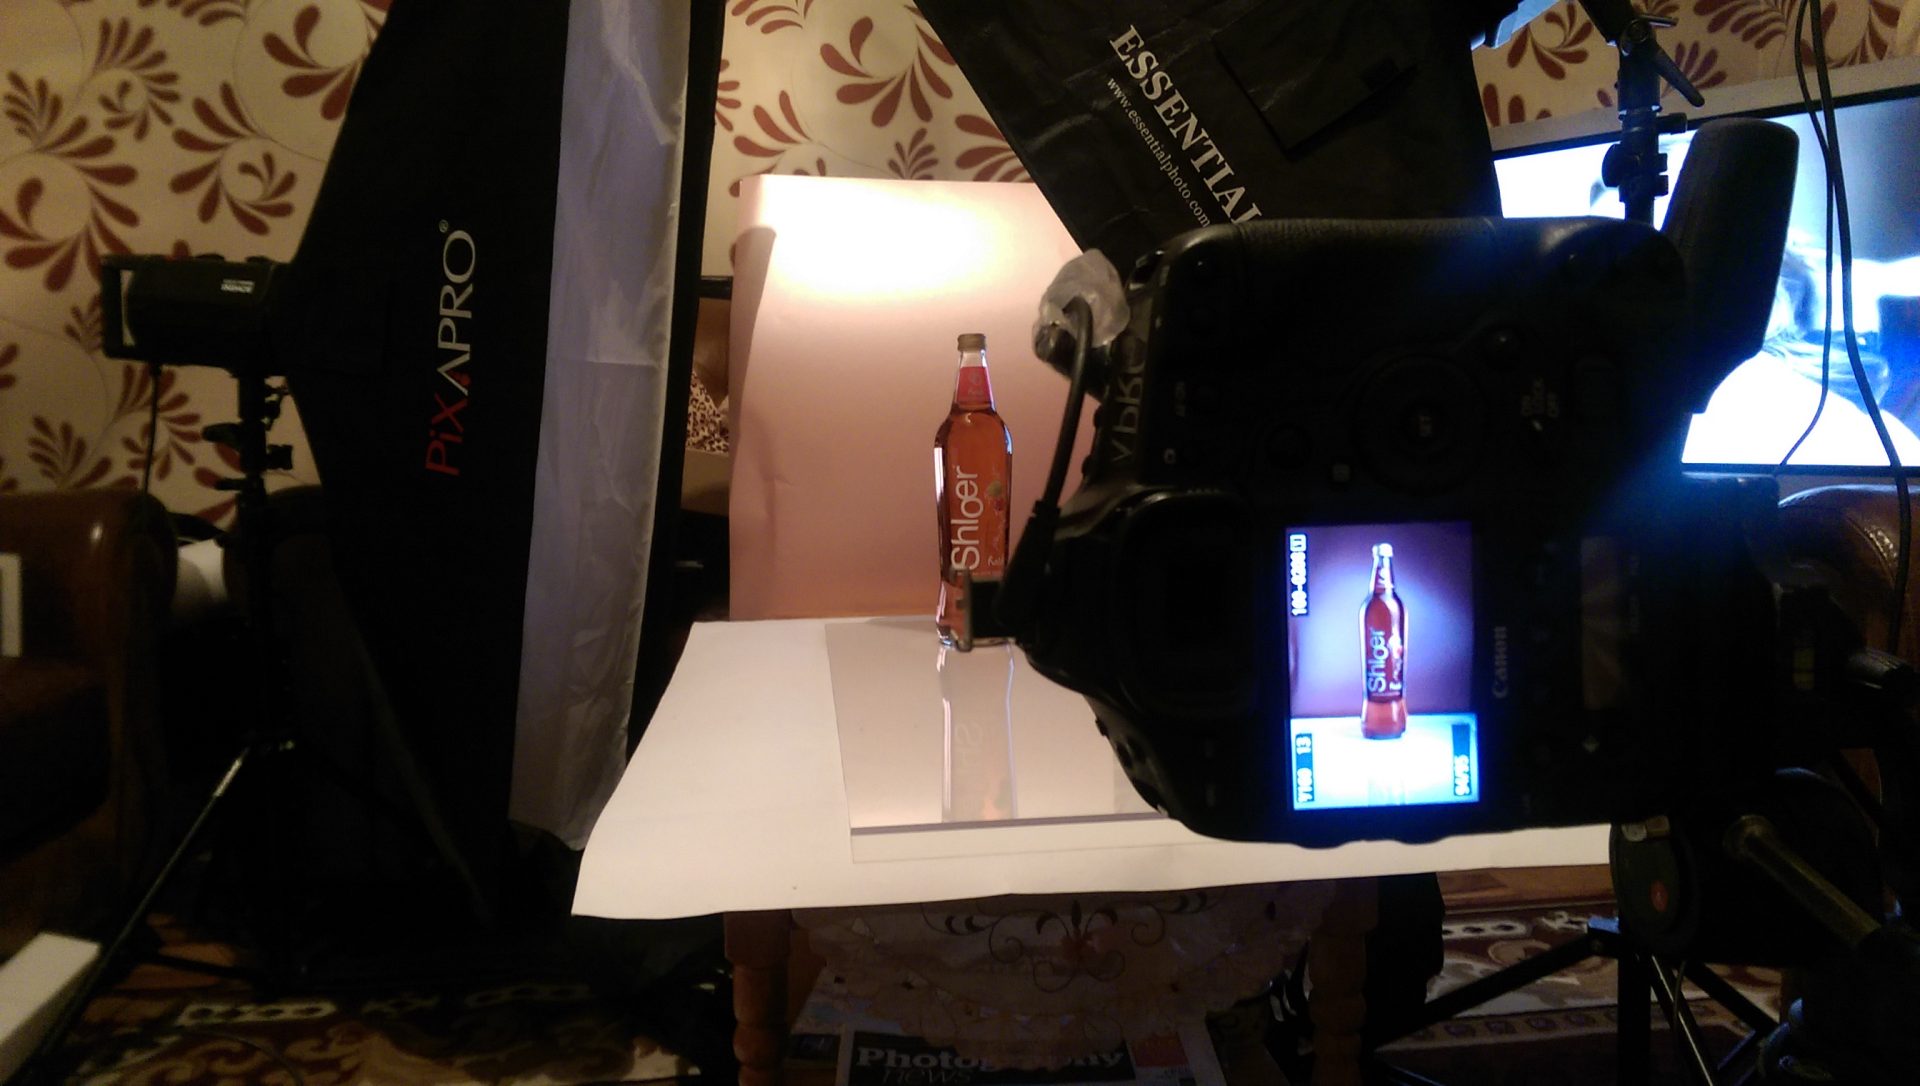
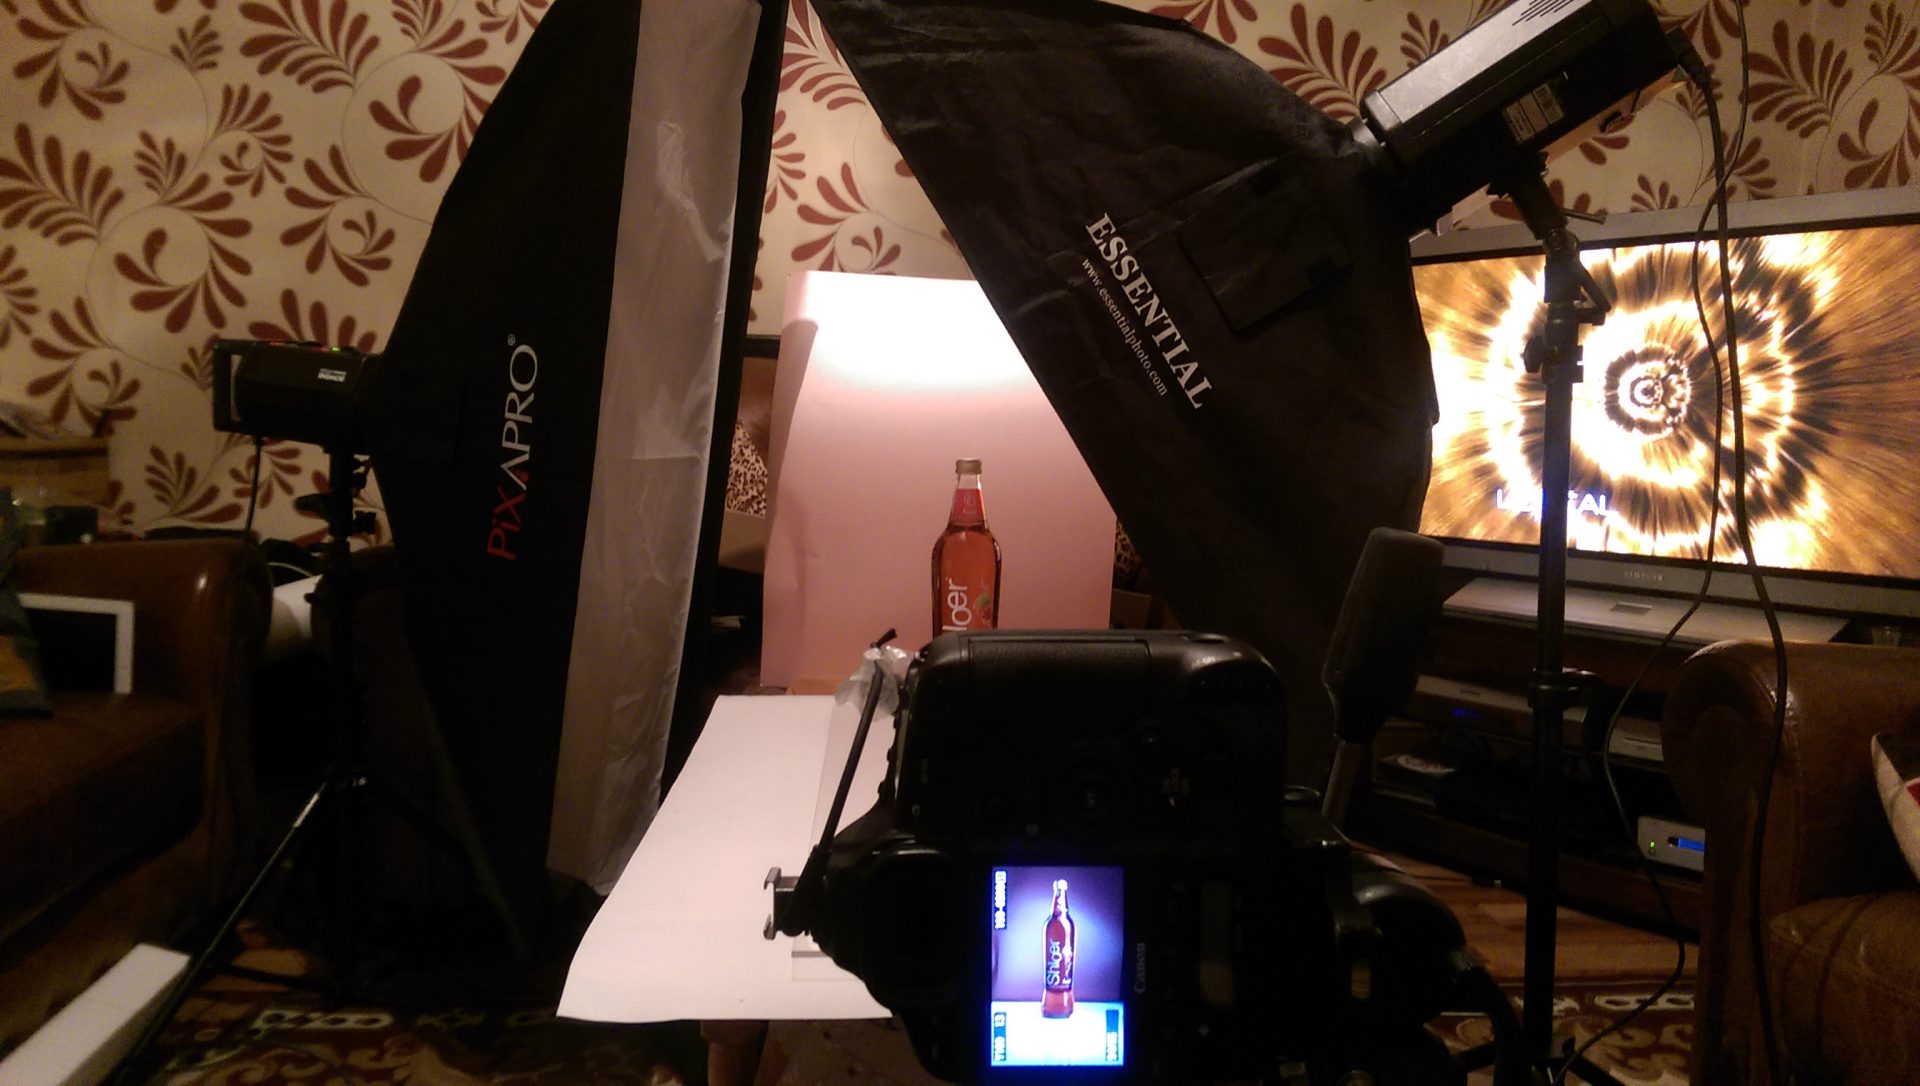
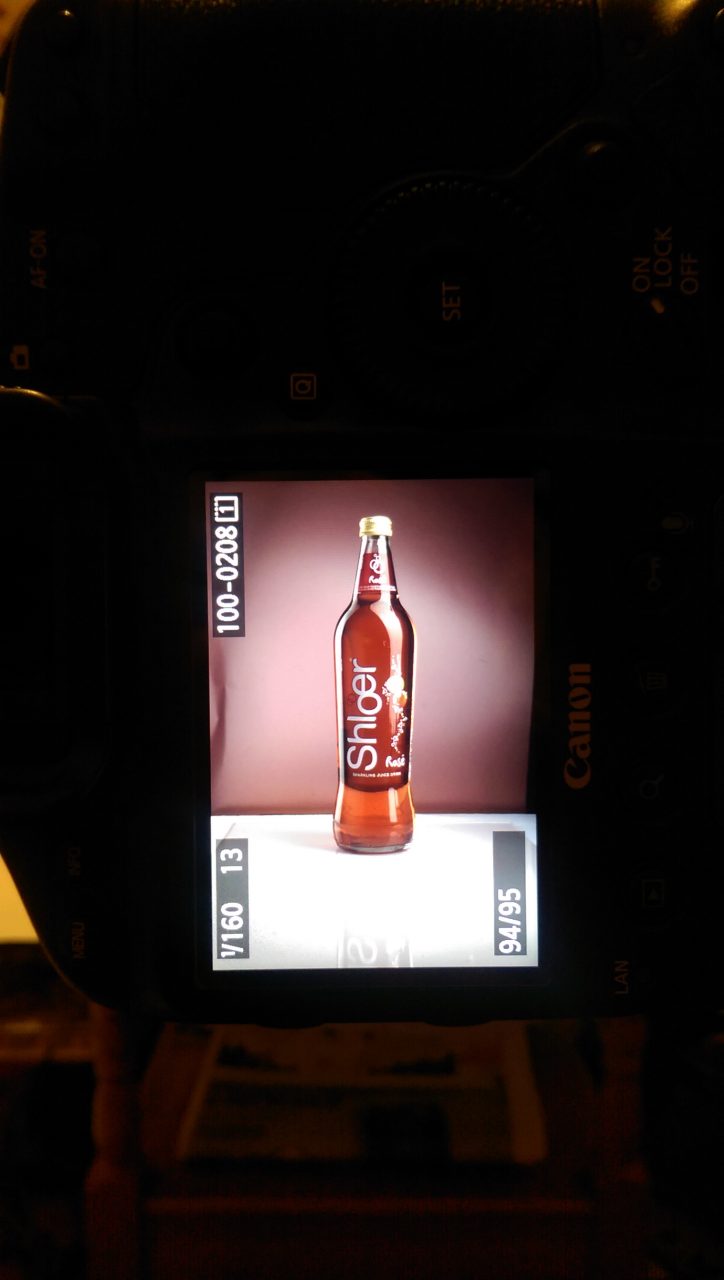

For the reflection of the bottle I used a clear perpex sheet I took of my friend, but easily available on the internet. This sheet is great for any small to medium product shots. I often take it to weddings with me as it’s a great surface to reflect rings on, and other small items. The added benefit of it being clear is that I can use any colour paper or material under it, to create more interesting shots. The background used is just a pink A3 sheet of paper. It was set further back to be able to get the darker shade. The lens I had to use was the Canon 24-70. I wanted to use my 70-200 as I love the compression. The camera was the 1DX. Settings used were Aperture f/13, shutter 1/160th, ISO 100. I placed a clean glass and fake ice next to the bottle. It more or less worked straight away. When I was happy with the frame I sprayed the bottle with water for the droplets, had I done this earlier the water would just dribble down and off the bottle, making the perspex wet and messy. So plan first. Once sprayed the shot was achieved within 3 shots. Notice the grid reflection.
The Lights.
As this just starting off as being just a test shot I only used 2 lights for this shot. One on each side and slight different angles to each other. The idea was to create 2 clean lines on the bottle without it looking obvious. It was a little tricky, as the bottle neck bends it changes the light shape. I had to raise and angle the lights to get the desired effect. They were set to very low power due to being so close to the bottle. Below are images of the light effects. Starting with left side, left light only, then right one, then both on. the forth shot has a darker background, this was done by just moving the card further back. Notice the difference in the colour on the bottle and the background.
Post Processing.
The chosen shot was processed in Photoshop. There were some adjustments made in Camera Raw first. Camera Raw is very powerful and it should be used to its ful content. This is where all destructive editing should take place. The original content that you recorded in Raw now come into play, get it as close to how you want it here and make further needed adjustments in Photoshop. The changes I made in Camera Raw are below. The exposure was increased, so was the contrast. The blacks were reduced. The main adjustment here was for the droplets. The was the clarity tool. Once in Photoshop I used the dodge and burn tool to highlight key areas like the ice in the glass, the top of the bottle, the white label, and burned the centre a little to darken it. I completed the image by cloning some areas and blurring the area where the paper meets the back edge. This was not perfect, but then again this whole shot was taken and edited in an hour or so. It was meant to be a test shot but I am very pleased with the results to keep it and learn for next time.